In today’s fast-paced digital world, disposable cameras offer a delightful throwback to simpler times. However, their analog nature means the photos they produce are not immediately accessible on digital devices. That’s where this guide comes in—to help you seamlessly bridge the gap between the analog charm of disposable cameras and the digital convenience of smartphones. Whether you’re preserving special moments or sharing them on Instagram, let’s explore the steps to get those memories onto your phone.
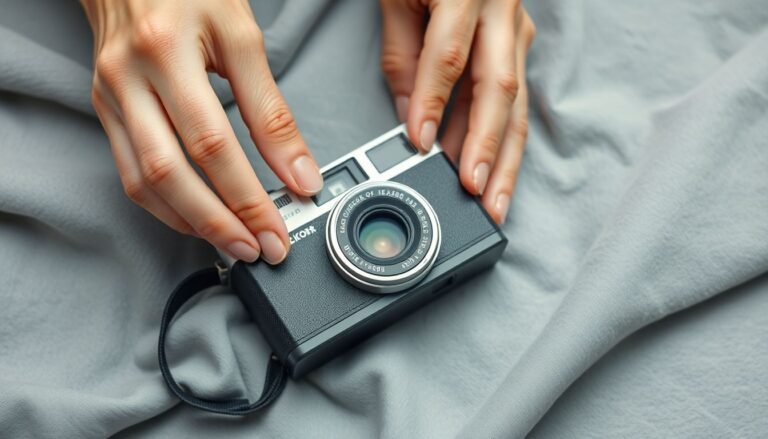
What Are Disposable Cameras?
Disposable cameras are single-use, film-based cameras designed for simplicity. These compact devices come preloaded with a roll of film, typically offering 24 to 36 exposures. Once all the shots are taken, the entire camera is sent for film processing, where the photos are developed.
Key Features of Disposable Cameras
No Rechargeable Batteries: Powered by a simple, built-in battery.
Fixed Focus Lens: Optimized for general photography without manual adjustments.
Affordable and Accessible: Available at most retail and online stores.
Disposable cameras are especially popular at weddings, parties, and travel adventures because they capture candid moments with a distinct vintage vibe.
Why Transfer Disposable Camera Pictures to Your Phone?
Why go through the hassle of digitizing analog photos? Here are a few reasons:
Convenience: Access your memories on-the-go and easily share them with friends and family.
Preservation: Physical film can deteriorate over time, but digital backups ensure longevity.
Creativity: Edit and enhance images using your phone’s editing tools or apps.
Digitalizing your disposable camera photos transforms fragile prints into secure, versatile files.
Steps to Develop Disposable Camera Pictures
Before you can transfer your photos to a phone, you need to develop the film. Here’s how:
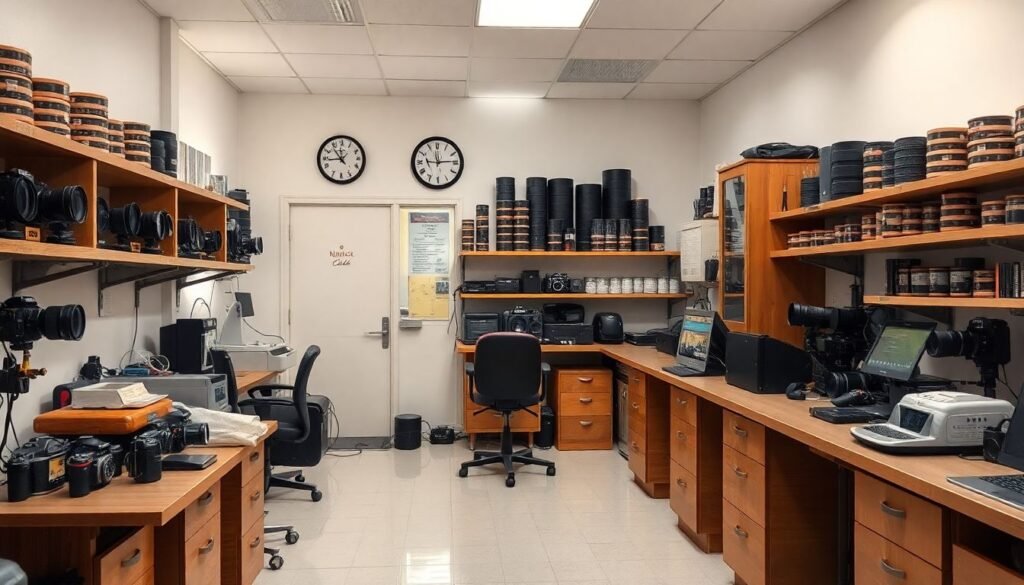
Where to Develop Film
Retail Chains: Many retail stores like CVS, Walgreens, and Walmart offer film development services.
Local Photo Labs: These often provide more personalized service and options for digital copies.
Mail-In Services: Companies like Mpix or The Darkroom allow you to send your film for development and receive prints and digital files in return.
Cost and Timeline
The cost typically ranges between £10-£20 per roll for development.
Processing time varies, with most labs taking 1-2 weeks.
Once your film is developed, you can proceed with digitizing the photos for your phone.
Methods to Get Disposable Camera Pictures on Your Phone
There are several methods to digitize your disposable camera photos:
1. Use Professional Film Development Services
Some labs offer an option to scan the developed negatives and provide digital files on a USB drive or via cloud storage. Simply transfer these files to your phone.
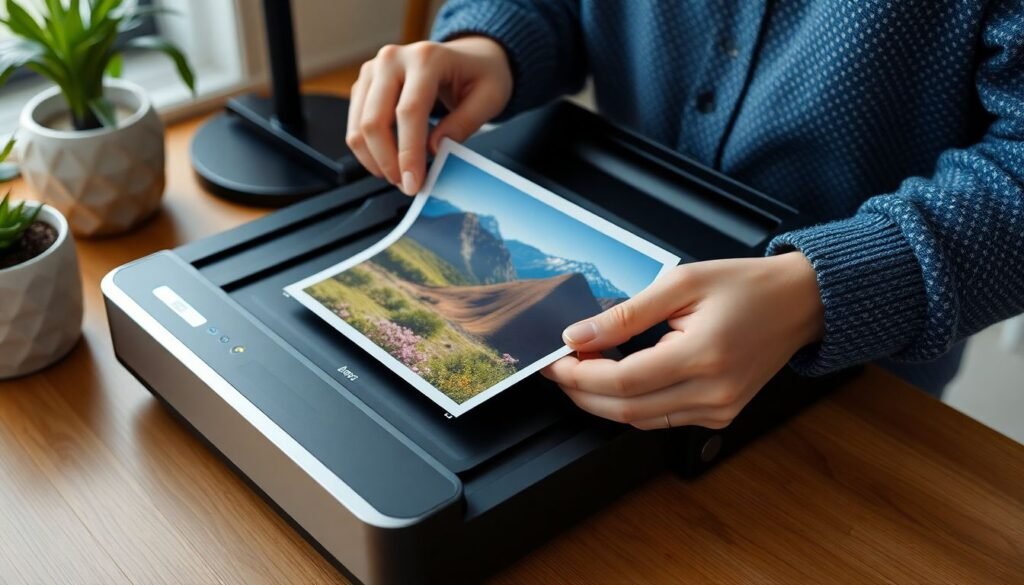
2. Scan Photos at Home
Invest in a photo scanner to digitize prints. This requires some patience and precision but can yield excellent results.
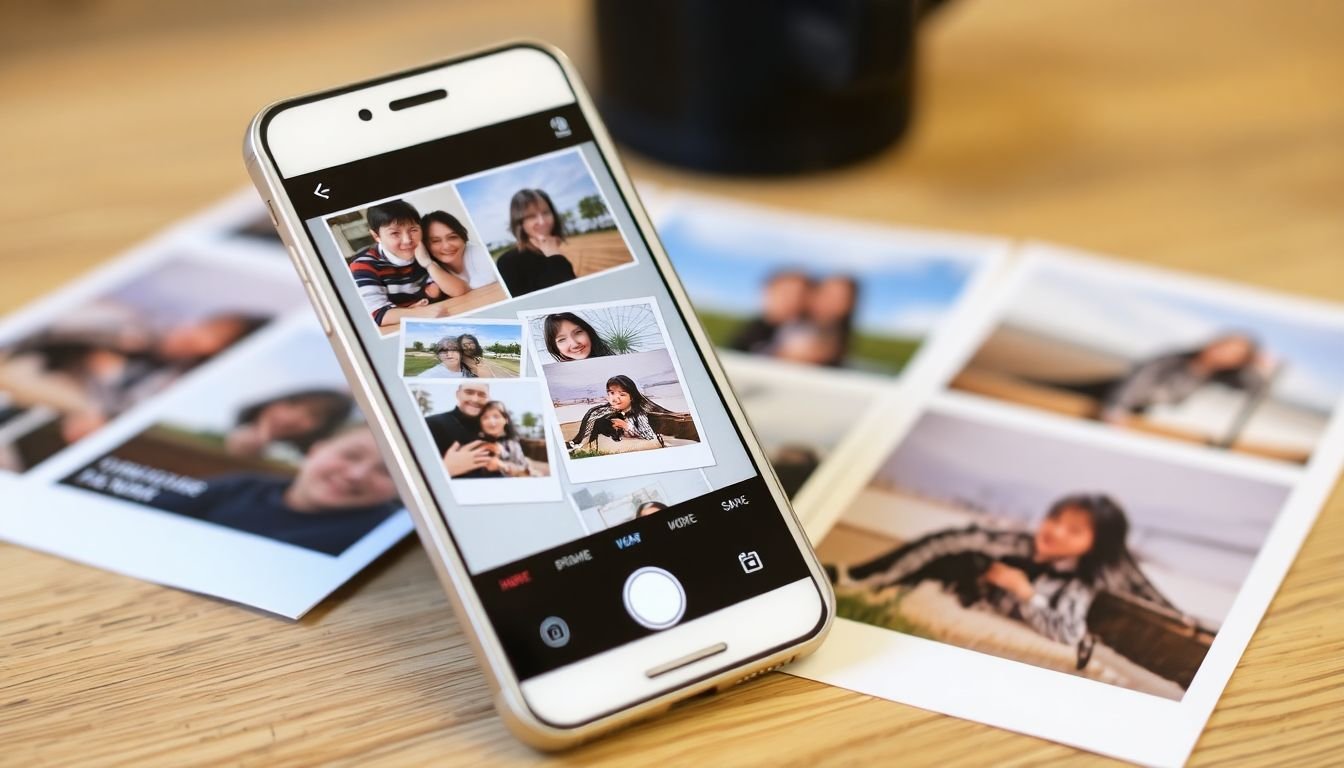
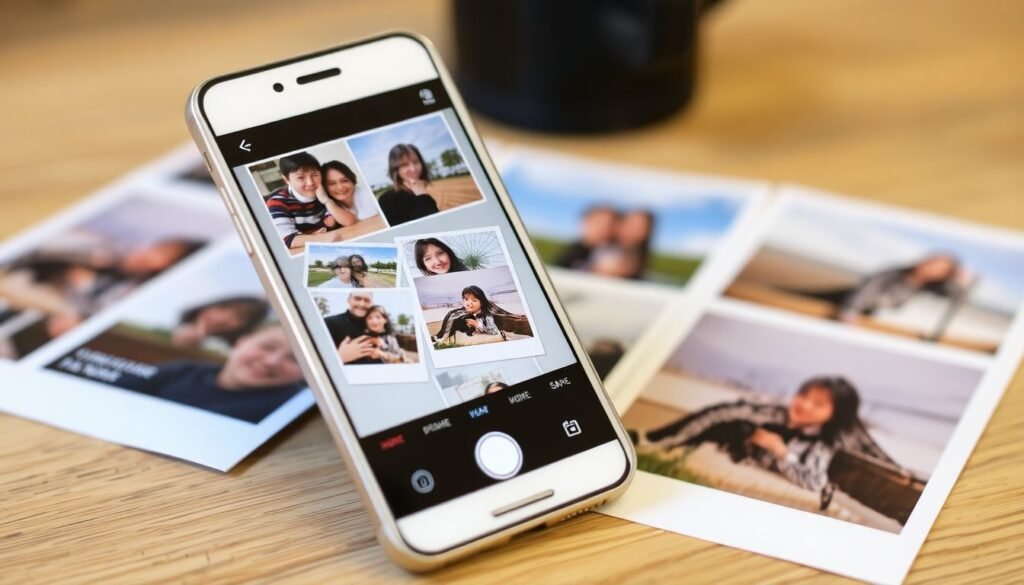
3. Use Apps for Digitizing Pictures
Apps like PhotoScan by Google Photos or FilmBox by Photomyne allow you to digitize photos directly using your phone camera.
Using Professional Film Development Services
Professional film development services are a hassle-free way to digitize your disposable camera pictures. After developing your film, these services often provide a digital copy of your photos, either on a CD, USB drive, or via online download links.
How It Works
Develop and Digitize: When you drop off your camera for development, request a digital copy. Most labs will scan your negatives and create high-resolution files.
Delivery Formats: Labs may send digital copies through email, cloud storage services, or provide physical storage devices like USB drives.
Transferring Files to Your Phone: If you receive a USB, transfer the photos to a computer first and then sync them to your phone. Cloud options allow direct downloading to your device.
Pros and Cons
Pros: High-quality scans, professional handling of negatives.
Cons: Slightly more expensive and requires waiting for processing.
Scanning Photos at Home
If you enjoy DIY projects or prefer to have complete control, scanning your photos at home is a great option. This method requires some basic equipment and a bit of patience to achieve quality results.
Equipment You Need
A flatbed scanner with high DPI (dots per inch) resolution.
Your developed photo prints or film negatives.
Editing software (optional) to enhance or crop the images.
Step-by-Step Process
Prepare Your Prints/Negatives: Ensure they’re clean and free of dust.
Set Up the Scanner: Adjust settings for photo scanning, aiming for at least 300 DPI for prints and 1200 DPI for negatives.
Scan Each Image: Position the photo or negative on the scanner bed and follow the scanner’s software prompts.
Save and Transfer: Save the scans as high-resolution files and transfer them to your phone using a USB cable, cloud service, or memory card.
Tips for Better Results
Use a microfiber cloth to clean the scanner glass and your prints.
Scan in a well-lit room to avoid glare or shadows.
Opt for TIFF or PNG formats for better quality than JPEG.
Apps and Tools for Digitizing Disposable Camera Photos
For those who prefer the convenience of smartphone apps, several tools can transform physical photos into digital copies in no time.
Top Apps for Digitization
PhotoScan by Google Photos: Captures glare-free images of printed photos with automatic edge detection.
FilmBox by Photomyne: Designed specifically for scanning film negatives, offering color restoration and cropping tools.
CamScanner: Though primarily for documents, it can work for photos in a pinch.
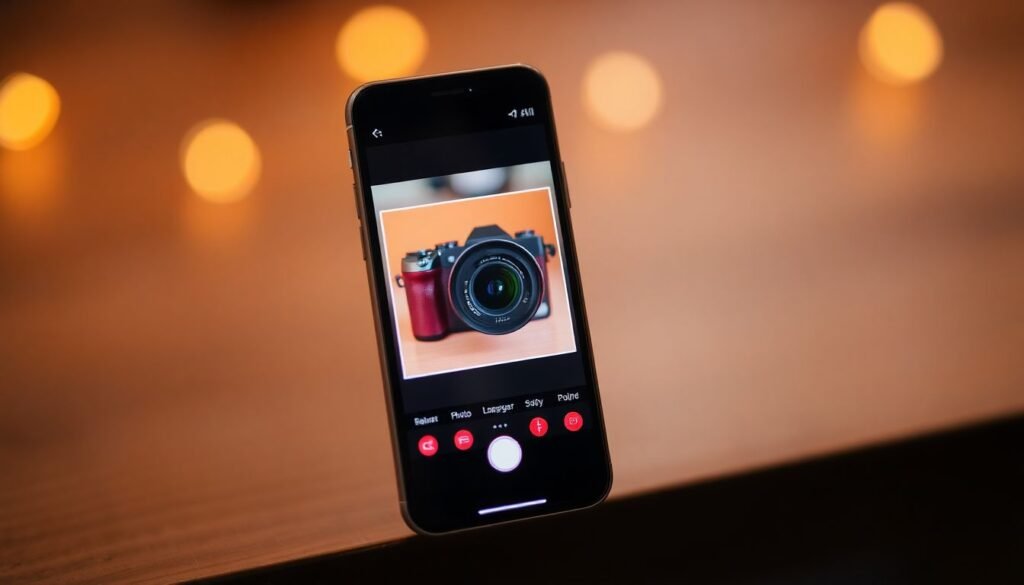
How to Use These Apps
Open the app and follow the on-screen instructions to capture the photo or film negative.
Adjust cropping, brightness, or color settings within the app.
Save the image to your phone’s gallery.
Advantages of Using Apps
No additional equipment required.
Quick and easy, especially for casual use.
Limitations
While apps are convenient, the image quality may not match that of professional lab scans or high-end scanners.
Best Practices for Editing Digitized Photos
Once your disposable camera pictures are on your phone, a little editing can go a long way in enhancing their appeal. However, it’s essential to maintain the vintage aesthetic that makes these photos unique.
Basic Editing Tips
Brightness and Contrast: Adjust to bring out details while preserving the photo’s original tone.
Crop and Rotate: Remove unwanted borders or straighten misaligned shots.
Color Correction: Use tools to balance colors or restore faded hues.
Recommended Editing Apps
Snapseed: Offers professional-grade editing tools with an intuitive interface.
VSCO: Ideal for applying subtle filters that complement the vintage feel of disposable camera photos.
Adobe Lightroom Mobile: Great for advanced edits like tone curves and selective adjustments.
Remember, the goal is to enhance your photos while keeping their nostalgic charm intact.
Common Mistakes to Avoid
Digitizing disposable camera pictures is straightforward, but mistakes can compromise quality. Here’s what to watch out for:
Ignoring Resolution Settings: Low-resolution scans may look fine on your phone but appear pixelated when printed.
Overediting: Heavy filters or excessive retouching can erase the vintage feel.
Improper Storage of Film and Prints: Always handle negatives and prints carefully to prevent scratches or fading.
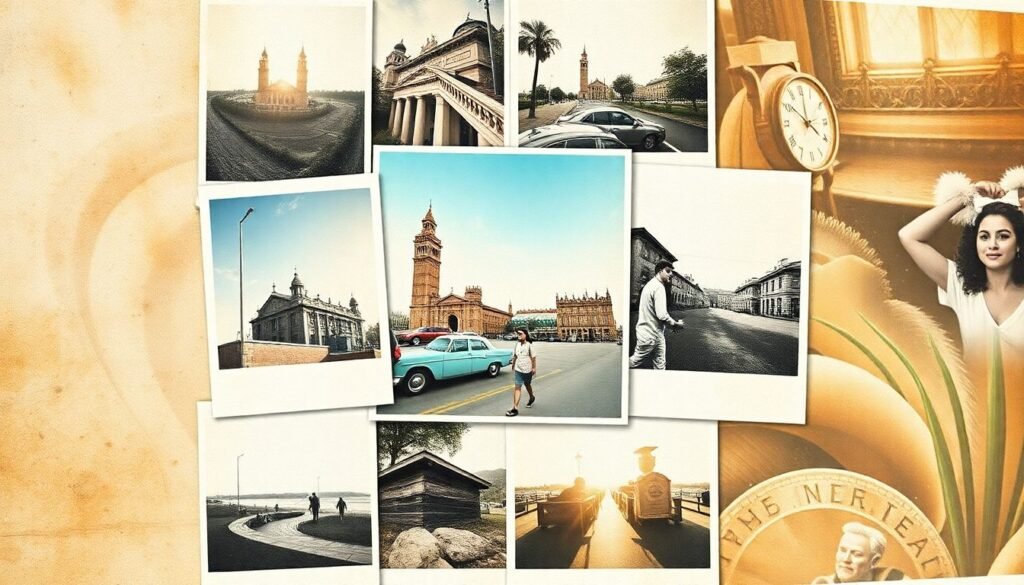
Sharing Your Disposable Camera Photos Online
Once your photos are digitized, it’s time to show them off! Disposable camera photos often gain attention for their unique, retro vibe.
Platforms to Share
Instagram: Use hashtags like #DisposableCamera or #FilmIsNotDead to reach a niche audience.
Pinterest: Create boards featuring your vintage-inspired snapshots.
Facebook: Share with friends or upload to dedicated photography groups.
Creative Ideas for Display
Create a collage or slideshow.
Pair photos with captions or anecdotes for added engagement.
Experiment with themed posts, like “Throwback Thursdays.”
Storing Your Digital Photos Safely
Preserving your digitized disposable camera photos ensures they remain safe and accessible for years to come.
Cloud Storage Options
Google Photos: Offers free storage for high-quality images with easy access across devices.
Dropbox: Ideal for organizing photos into folders.
iCloud: Seamlessly syncs photos across Apple devices.
Backup Strategies
Keep multiple backups—on a hard drive, cloud, or both.
Regularly update your storage to avoid accidental loss.
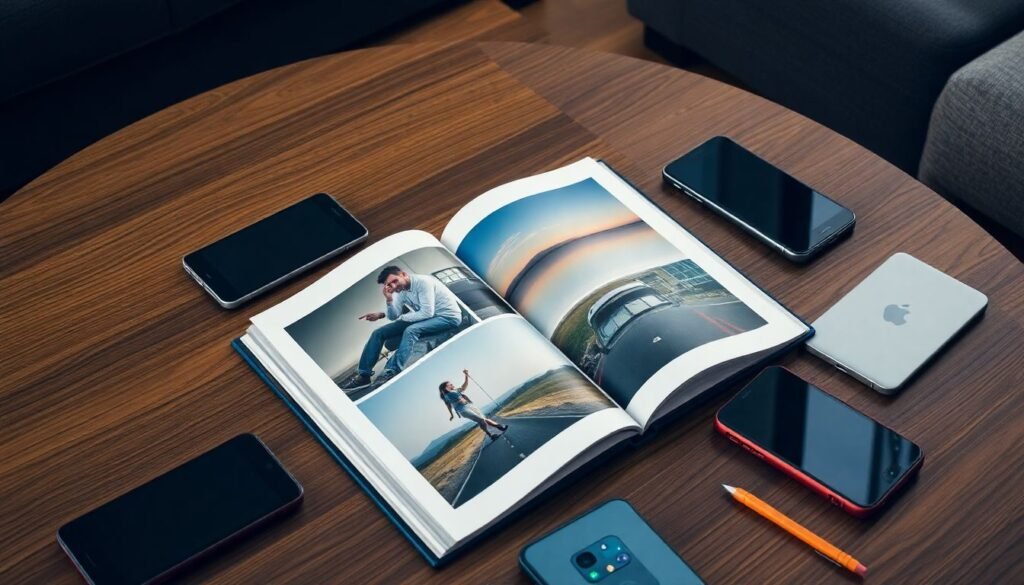
The Benefits of Digitalizing Disposable Camera Pictures
Digitizing your disposable camera photos blends the best of both worlds—the nostalgic appeal of film and the convenience of modern technology.
Durability: Digital files last much longer than physical prints.
Accessibility: Access and share your photos from anywhere.
Versatility: Use digital copies for creative projects like photo books or personalized gifts.
Conclusion
Getting disposable camera pictures onto your phone bridges the charm of analog photography with the ease of digital sharing. Whether you rely on professional services, home scanning, or innovative apps, the result is a digital treasure trove of memories. Embrace this nostalgic journey and let your photos tell their timeless stories.
FAQs About Disposable Camera Photo Transfer
1. Can I digitize disposable camera photos without developing the film?
No, the film must first be developed into negatives or prints before digitization.
2. What’s the best app for scanning photos?
PhotoScan by Google Photos is highly recommended for its ease of use and glare-free results.
3. How much does professional film digitization cost?
Prices range from £10 to £20 per roll, depending on the service provider.
4. Can I scan disposable camera pictures using my phone’s camera?
Yes, apps like PhotoScan allow you to capture high-quality digital copies using your phone.
5. How do I maintain the vintage look of disposable camera photos?
Edit minimally and use subtle filters to enhance rather than change the photo’s aesthetic.